6+ Bread Maker Tips You Need To Make Marvelous Bread
Sneak Peek: This collection of 6 bread maker tips (+ 1 bonus tip about dense bread) is for beginners and experienced bread machine users.

As an Amazon Associate, I earn from qualifying purchases.
Are you unpacking a new machine or digging one out of the attic? If Santa brought you a bread maker or the shutdown has inspired you, you might be wondering where to start.
You could read the manual. (Just kidding! Who has time for that?)
I’ve gathered more than six breadmaker tips to build your confidence. At the end of this post, I’ll share the most popular bread recipe on this website. It’s beginner-friendly and an excellent place to start.
Why Do I Need Tips and Tricks? Isn’t a Bread Maker Supposed To Be Easy?
When I first started using my bread machine (paid link), I was infatuated with the smell of fresh bread–especially when using a timer to make it overnight. What an enticing wake-up call!
But as I always say, “Even bad bread tastes good when it’s warm.” Don’t be fooled.
The reality of tighter-than-they-were-before jeans inspired me to be pickier. I decided that good-smelling bread didn’t justify the thick crusts, holes in the bottom, and awkwardly ugly loaves I was offering my family.
I threw out the bread maker manual and experimented with recipes I loved. I questioned everything.
Even bad bread tastes good when it’s warm, especially with jam and butter on the side. Don’t be fooled.–A Paula-ism
The result is a different way to use a bread machine, along with more than 67 bread-maker recipes published on this website. But don’t worry about all that right now.
Remember that any advanced skill (making high-quality yeast bread qualifies) will take practice and experience.
Adjust your early expectations while keeping your standards high. You don’t have to compromise. — A Paula-ism
Six Bread Machine Tips + 1 About Dense Bread
1. Start simple.
- (If you are already an experienced bread-maker, skip this one.) If you have never made bread before, use a bread machine mix from the grocery store and observe the consistency of the dough in various stages.
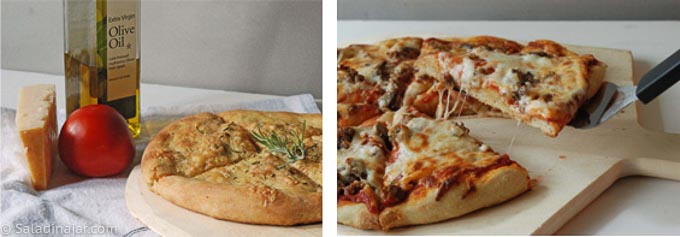
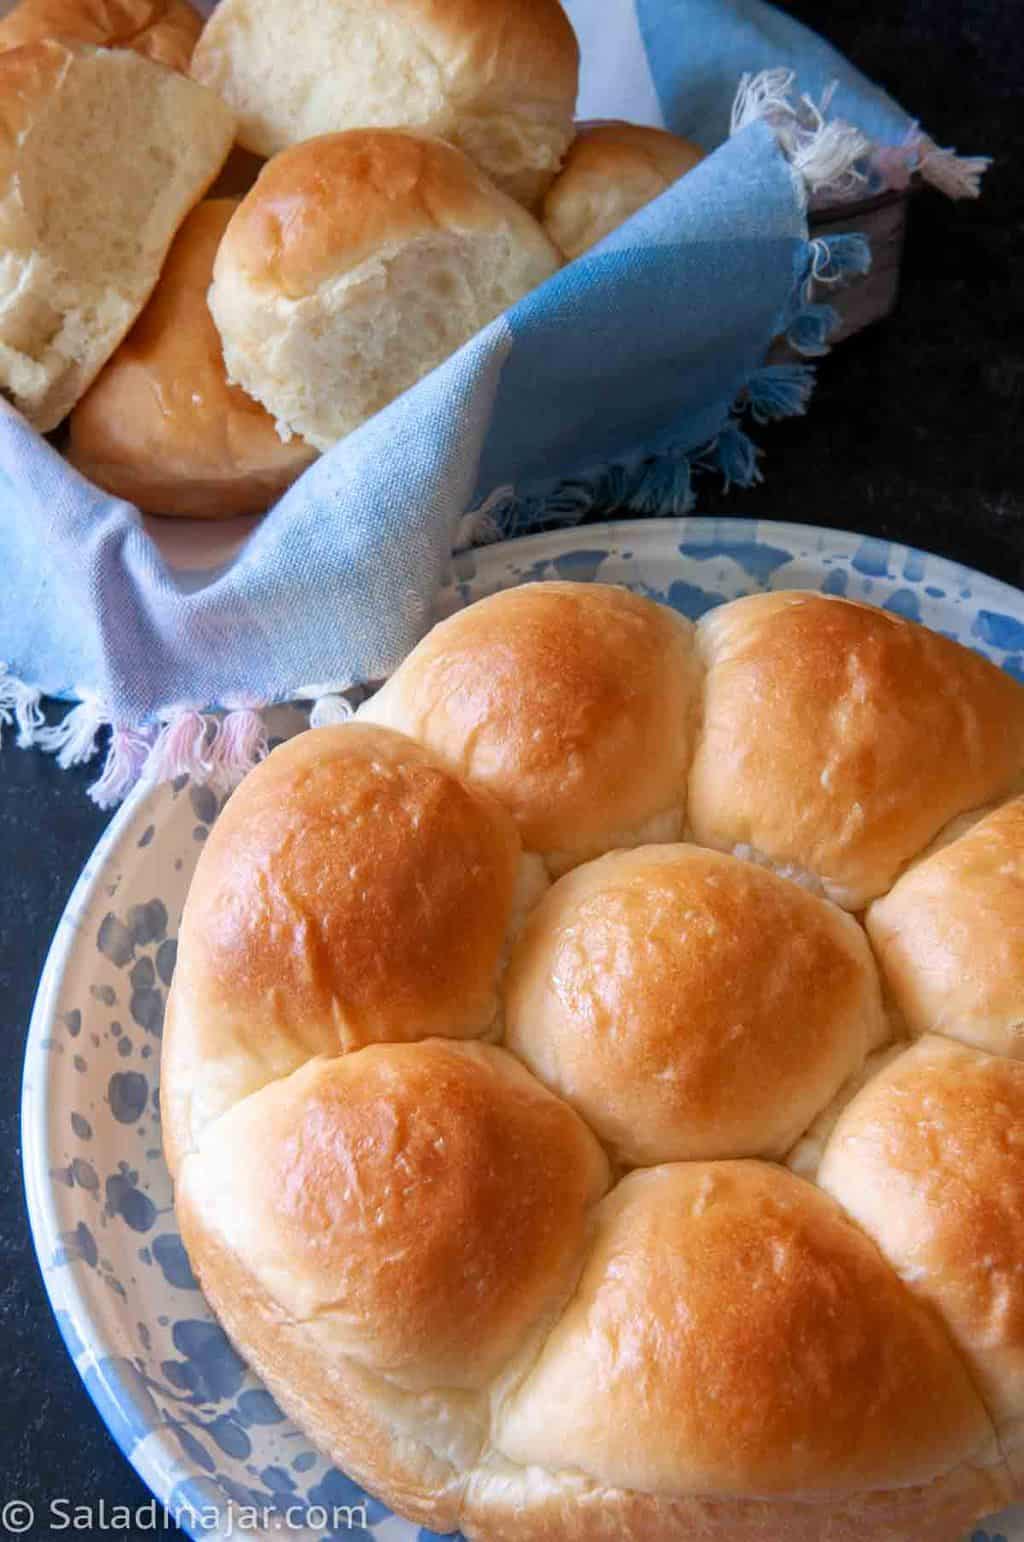
- Begin with a simple recipe like this bread machine pizza dough. It’s my favorite, and it’s almost foolproof. Or try my classic dinner rolls. They will build your confidence.
2. Be cautious about substitutions.
In the beginning, try to follow the ingredient list as carefully as possible to maximize your chances of success.
- Substituting whole wheat flour for white or even all-purpose flour for bread flour is not necessarily a 1-to-1 proposition. Different flours absorb different amounts of moisture and have varying amounts of gluten.
- All yeast is not the same. You can substitute active-dry yeast for instant or bread machine yeast. (Instant, bread machine, and rapid-rise yeast are interchangeable.)
However, active dry yeast is slower on the uptake. Add 1/4 teaspoon extra yeast if you are substituting for instant yeast.
Instant yeast saves time as it does not need to be dissolved. Traditionally, active-dry yeast needed to be dissolved. The modern formulation can now be added directly to your flour.
Dissolve it according to the package directions if it makes you feel better. No worries!
3. Don’t be afraid to open the lid.
I cannot stress this tip enough to avoid inedible surprises!!! (You can try looking through the viewing window, but that doesn’t work for me.)
Take a peek one minute after starting the machine to ensure the kneading paddle is engaged and the dough clumps.
- If nothing is happening, the blade may not be present or engaged.
I have often plunged a wooden spoon or spatula through the unmixed ingredients to push a paddle down into the proper position so it could do its job. I’ve even forgotten to install the blade before adding ingredients to the pan. - Another possibility is that the machine has entered a preheat phase. There will be no action until the machine can bring all the ingredients to the same temperature. Read more about the preheat feature and how to circumvent it if you want to.
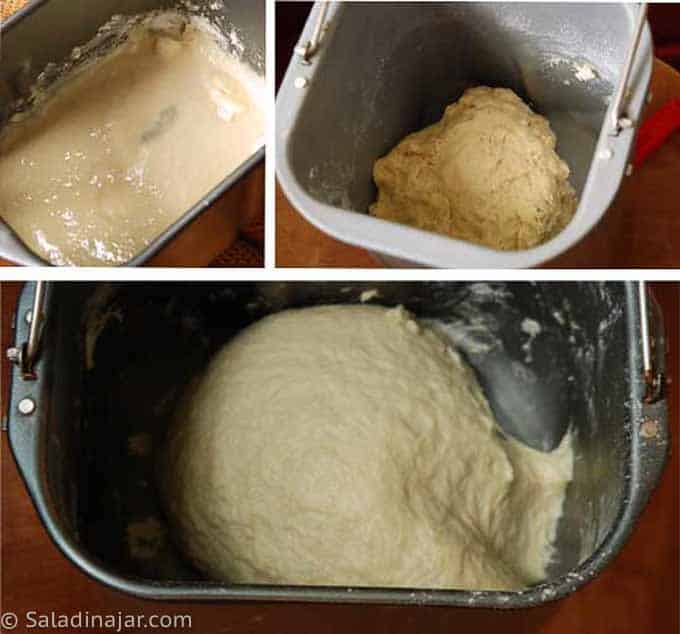
About fifteen minutes into the mixing process, look again.
- If the dough is too moist, it will level out like a thick soup. Add flour one tablespoon at a time until it makes a tacky ball that sticks to the wall of the pan and then pulls away.
- If the dough is too dry, it will form a ball that doesn’t touch the sides or may slap loudly against the side of the pan. (It won’t even form a ball if it’s very dry.) Add water one tablespoon at a time until you get a tacky ball.
Although experience is helpful, I hope you’ll have beginner’s luck and your bread will turn out superbly the first time.
When you learn how to gauge the consistency of the dough and can add water or flour as needed, the bread-machine world will be your oyster.–a Paula-ism
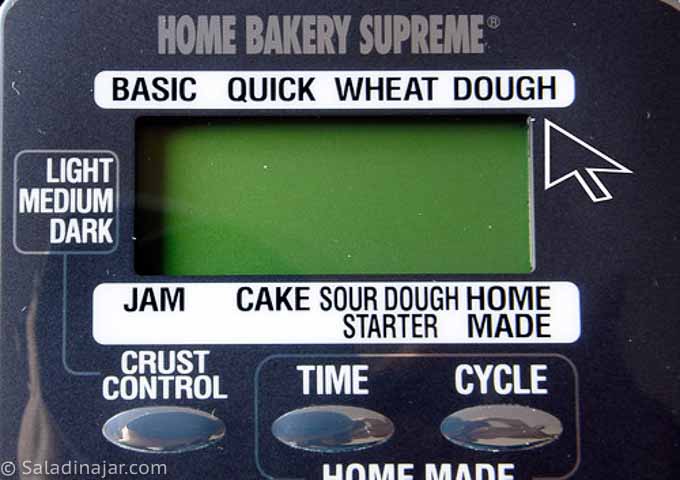
4. Stick with the “DOUGH” cycle on your bread maker.
If you haven’t read my blog before, I rarely bake bread in my machine. I use the dough cycle to mix the ingredients. Then, I remove the dough to a floured surface to shape it. Finally, bake it in a conventional oven.
If you want inspiration and exclusive tips, add your email and press the button. (Don't worry. I won't sell your email.)
This method gives me more control, more shaping options, and a better crust on the finished product. If I’m going to ingest luxury calories, they must be worth it. Bread baked in a bread machine rarely makes the cut.
What if you have no oven or are a fix-it-and-forget-it kind of baker?
Keep reading if you prefer using an automatic bread maker for the entire process.
5. How to get a better-looking loaf when you use the bread machine for baking your bread:
- Determine when the final rise starts during the REGULAR cycle. Check your manual.
- Remove the dough from the pan at the beginning of the last rise and remove the kneading paddles.
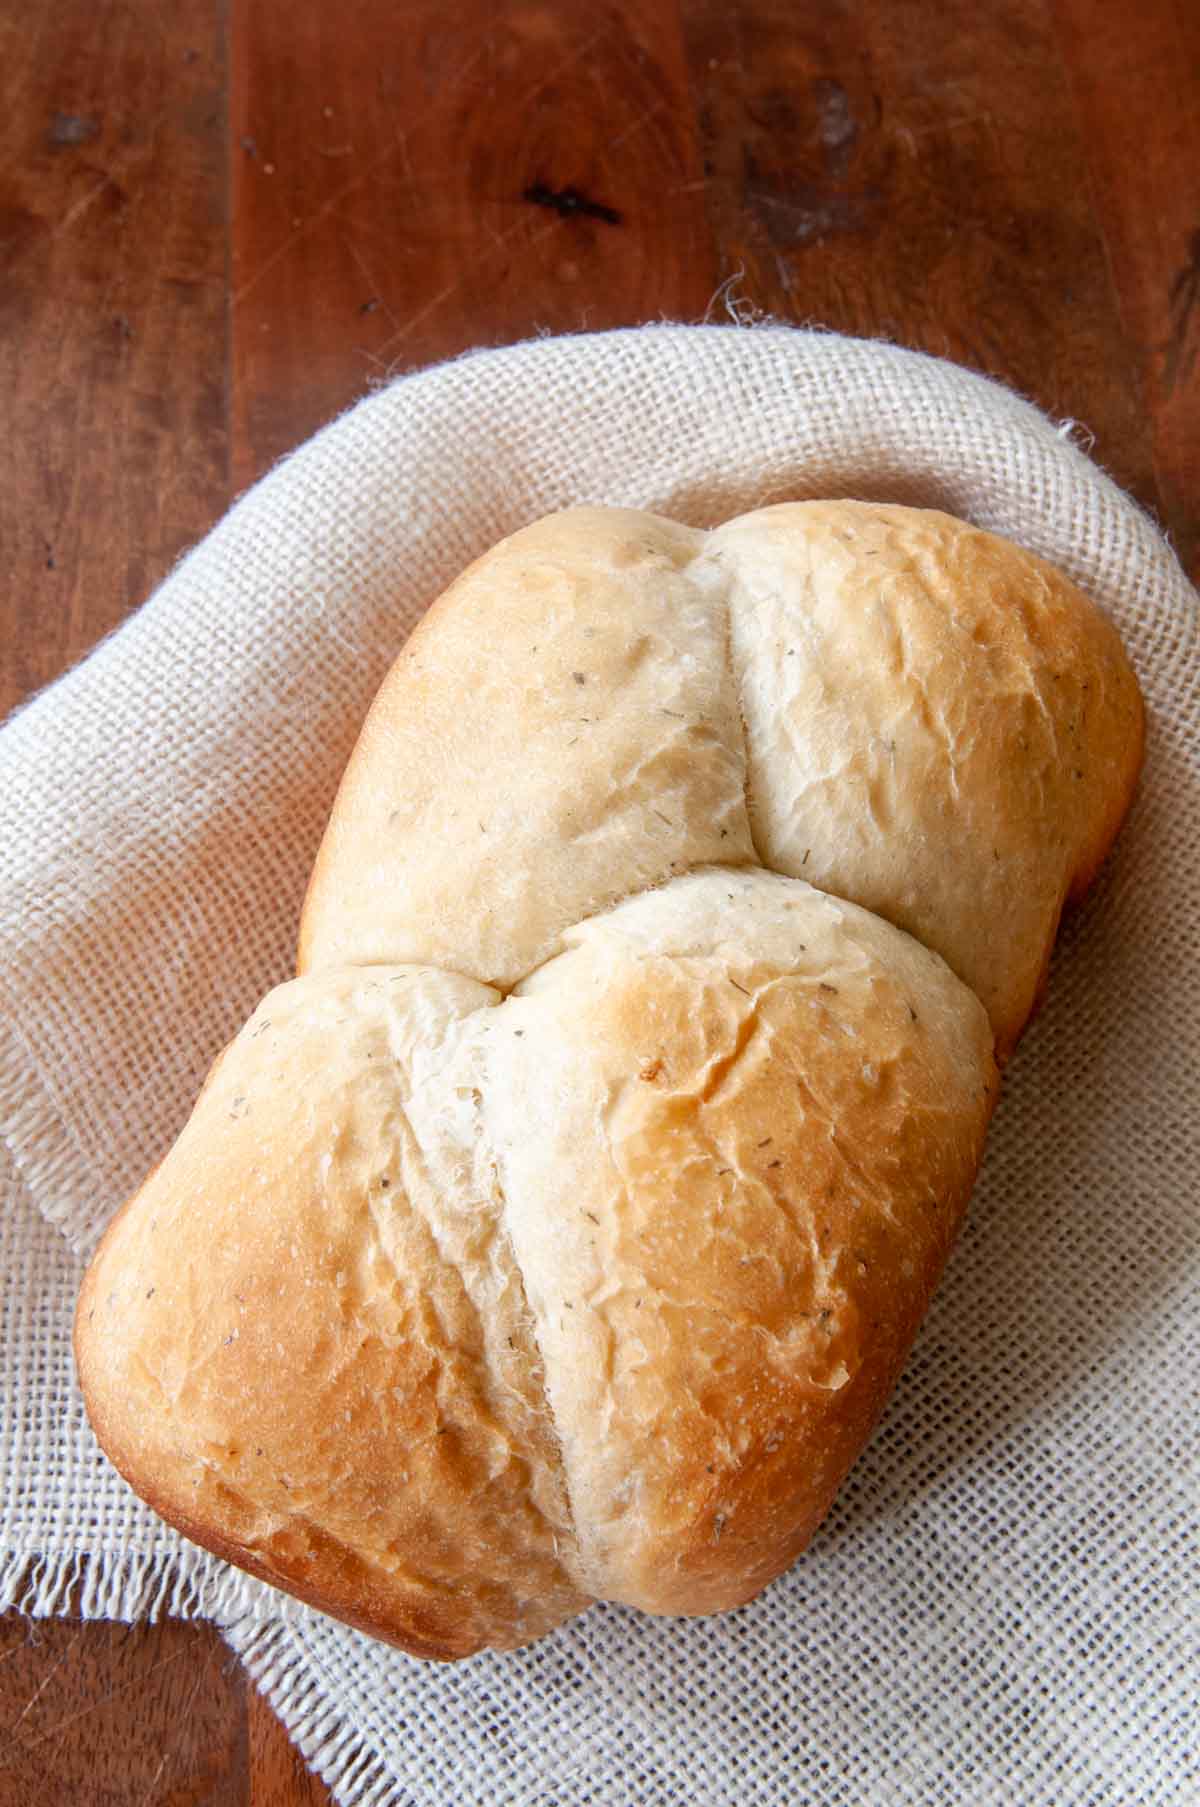
- Reshape the dough. You could braid it, make large or small balls (see picture below), twist it, or flatten and roll it up to make an evenly distributed loaf in the pan.
- Place the dough back into the bread machine pan and keep the cycle uninterrupted. (I unplug my machine to stop the process. When I replug it, the cycle takes up where it left off. Your machine may be different.)
This extra step will give your loaf of bread a nicer top, a uniform shape, and smaller holes in the bottom of the loaf after it is baked. Of course, the crust may still be thick and cardboard-like, but that’s the price of convenience.
6. Invest in quality bakeware and accessories.
If you want to bake your bread-machine-mixed dough in a regular oven, you will want a nice crust on your bread. Purchase high-quality pans with a superior non-stick finish so your loaf will fall out easily.
A few suggestions:
I highly recommend the last three items if you aspire to be an excellent home baker. See some of my favorites in my Amazon store or follow the links below according to the loaf size you like to use.
- Two heavy-duty pizza pans (for pizza) with a dark finish (Check eBay for these. Defunct pizza restaurants often sell them.)
- Two (8-inch or 9-inch (paid links) with 2-inch high sides) heavy-duty cake pans with a dark interior or gold finish
- An 8-1/2 x 4-1/2-inch loaf pan(paid link) and a 9 x 5-inch loaf pan(paid link) for recipes containing approximately 2-1/2 to 3 cups of flour or a 10-inch loaf pan(paid link) for a 2-pound loaf.
- A heavy-duty baking sheet
- Instant-read thermometer (paid link) or this smaller one (paid links)–help to gauge when the bread is fully baked. It’s more accurate than thumping the bottom like a watermelon.
- Dough scraper (paid link)
- Freebie shower caps–perfect for covering pans of formed dough for the second rising

7. Consider the ambient temperature.
(Ambient temperature refers to the area or room where your bread machine sits.) Even though bread machines contain a heating element, the room temperature can greatly affect how fast the dough rises.
If your house is chilly, the dough may not rise to double in the time allotted by the DOUGH cycle. Leave the bread dough inside the machine to continue proofing.
To do otherwise will keep the yeast from developing to its full potential, resulting in less flavor and a dense texture.
What to do when your house is too cold
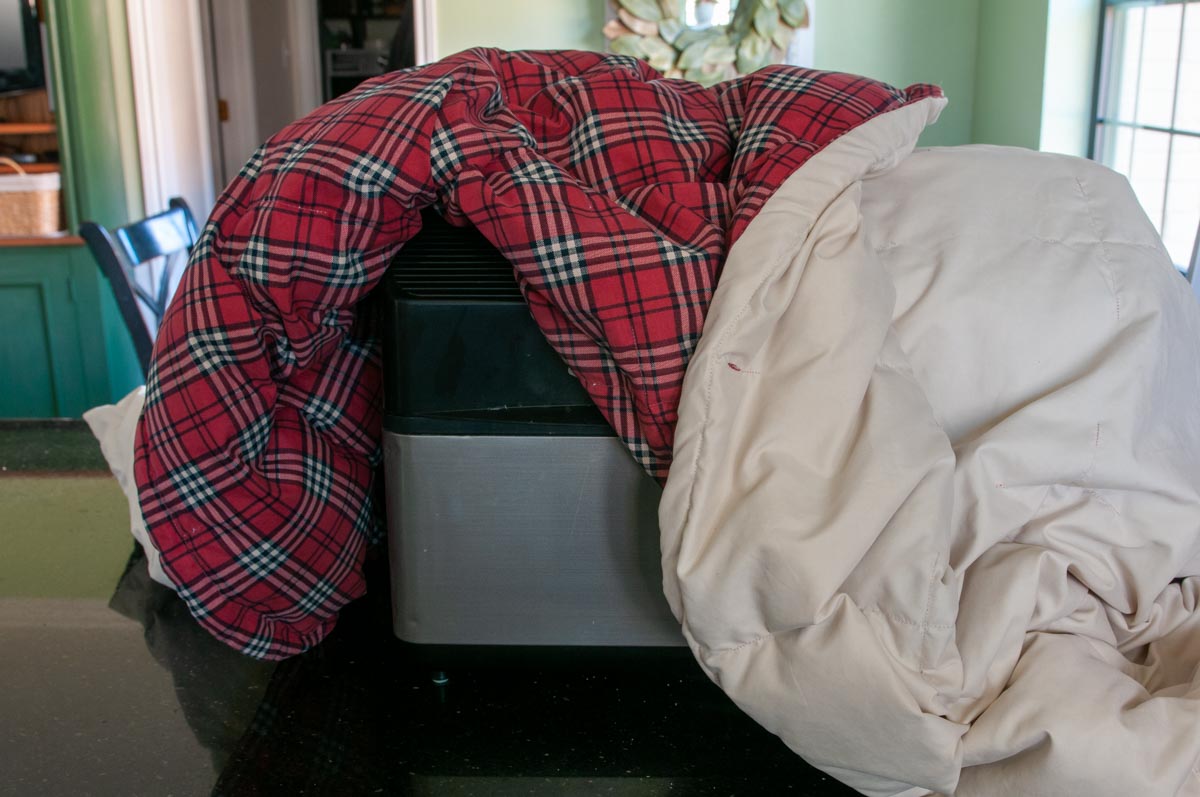
- Consider moving your machine to a warmer spot in the house.
- Throw a blanket over it. Remove the blanket before the machine heats up if you are using the machine for baking your bread.
If you are using the DOUGH cycle
- Transfer the dough out of the bread machine pan into another bowl. Cover it. Set it inside a slightly warm oven (85˚F) or on top of a water heater or any warm place.
- The dough may not rise to double in the time allotted by the DOUGH cycle due to the cooler temperature. Leave the bread dough inside the machine to continue proofing as long as necessary. Otherwise, the yeast won’t develop properly, resulting in less flavor and a dense texture.
Another option is to use your microwave oven as a dough-proofing box.
What to do when your house is too warm
When your house is too warm or humid, your bread may overproof and turn out flat on top. You can read about over-proofed dough in a bread machine and what to do about it here.
Bonus Tip: Why Is My Bread Too Dense?
This is the most common complaint I get from new breadmakers. Your bread will be dense when it does not rise as it should in the time allowed by the bread machine timer. The possible causes are many. Read this exhaustive list of 26 reasons your bread is dense, including many bread machine-specific issues.
Here’s a sampling:
- Did you measure the flour correctly? Because the percentage of flour is so high in a bread recipe, mistakes are magnified. Too much flour will make your bread dense and crumbly. A digital scale (paid link) is worth the money if you intend to make good bread.
- Did you use whole-grain flour? Don’t expect whole wheat bread to rise as high or as fast. Use the whole wheat setting or the DOUGH cycle to control the process.
- Did you drastically reduce or leave out the salt or add many salty ingredients? This will mess with the yeast. Salt and yeast work together like brakes (the regulator) and the gas pedal (the energy source). Without salt, the yeast will wear itself out when you need it most, resulting in a flat top. With too much salt, the yeast will be sluggish.
- Did you substitute all-purpose flour for bread flour? Since bread flour has more gluten, it will help your bread rise higher. This is not usually a big issue with dinner rolls, but it can be with loaves.
- Did you use active dry yeast instead of instant yeast? Active dry yeast is a bit slower. Add 1/4 teaspoon more.
- Were all of your ingredients at room temperature when you started the machine? This is very important when you use your machine to mix, knead, and BAKE your bread. How can your bread maker know you used cold flour straight out of the freezer? Cold ingredients will slow down the action. Consequently, the dough won’t rise as fast. If you only use the DOUGH cycle, you do not need to warm the ingredients, as the friction of the kneading paddle will do it for you.
FAQs About Using Bread Machines
Good question. It depends. Read this post about what a bread machine does and why you might need one.
Nothing. Americans call it a bread machine, while other English-speaking countries call it a bread maker.
It can be. It depends on the baker’s skills in making the bread by hand. Without years of experience, I think the best bread machines will do a better job of kneading the dough. Kneading by hand takes stamina and a second sense to “read” the dough.
The answer depends on three things: 1) opinion, 2) personal standards for good bread, and 3) how a bread maker is used.
This is my opinion: Because I like to share what I bake, I have high standards for my bread. I believe there is no better kneading machine than a bread maker, but it is substandard when baking bread. If you use a bread machine only for what it does best (mixing and kneading yeast dough using flour with gluten), then, yes. Bread makers can make exceptionally good bread that compares favorably with commercial bakery products.
The Final Analysis
A bread maker or bread machine is like an automatic washer and dryer. If you insist on using them for ALL of your clothes because “that’s what it’s made for,” you will have disasters. Fading, shrinking, and complete unraveling are sure to happen. Using machines successfully requires human discretion because they don’t have brains.
Likewise, with a bread maker: if you insist on using it to mix-knead-and-bake every bread recipe because “that’s why you bought it,” you may have some unappetizing and surprising results. Examples include a dense loaf, a thick crust, or a crater top caused by overproofing. Using human discretion, the DOUGH cycle, and your oven will solve many problems people complain about the most.
Don’t forget: Learn how to use a bread machine (in cooperation with your brain and your oven) to make marvelous bread. Sign up for my free bread-machine email course.
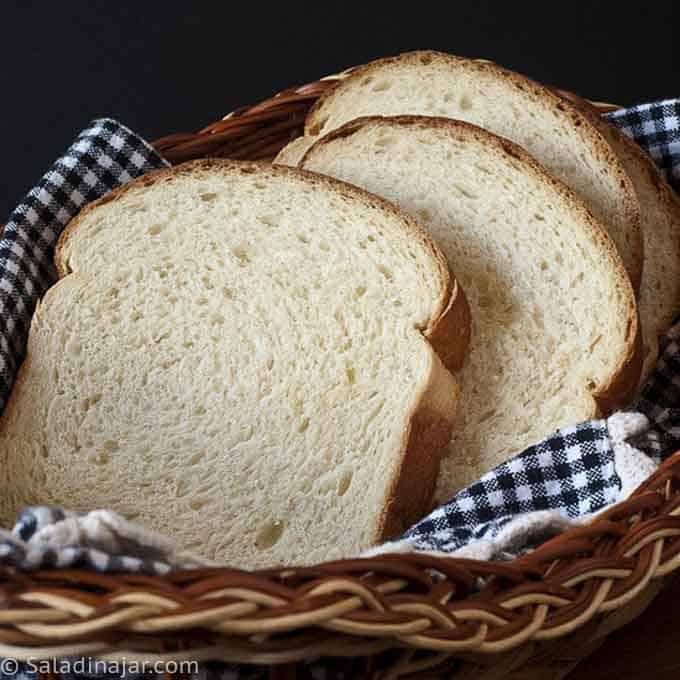
Parting thoughts: I hope you won’t settle for less-than-spectacular homemade bread because it smelled good while baking. You might start with the most popular recipe on this website: Crusty French Bread. It’s perfect for beginners. You will find instructions and pictures to show you how to make a crusty loaf using a bread maker. Then let me know how it turned out. I can’t wait to hear.
P.S. Are You Looking To Buy a Bread Maker?
Are you wondering which is the best bread maker or machine for a home baker like yourself, considering ease of use, available counter space, and storage? Do you really need a 13-hour delay timer, a nut dispenser, or a cycle to make gluten-free loaves? Should you buy a Zojirushi Virtuoso, a Cuisinart Compact, a Hamilton Beach Homebaker, or another brand? Read about what to look for in a bread maker.
If you have questions or suggestions, email me privately for a quick answer: Paula at saladinajar.com. Hope to see you again soon!
Paula Rhodes, owner
As a retired home economist, I created Saladinajar.com to share my belief that you don’t have to be a chef to find joy in creating homemade food worth sharing. Bread machines (used in an unconventional way), homemade yogurt, and quick microwave recipes are my specialty.