Flaky Pie Crust with Shortening for a Beautiful Pie
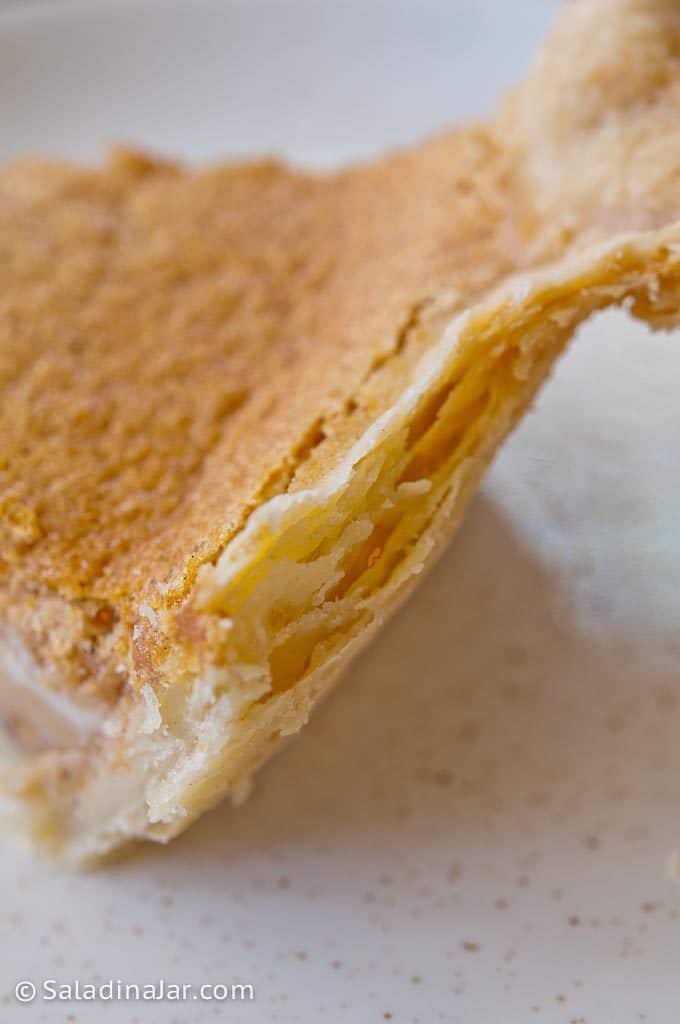
Sneak Preview: Discover the art of making a simple Flaky Pie Crust using shortening. This recipe is a perfect blend of a flaky, stable texture offered by shortening combined with the rich flavor of butter, making it an ideal choice for beginners venturing into homemade pie crusts.
As an Amazon Associate, I earn from qualifying purchases.
As a county extension agent back in the ’70s, I found myself in front of the local TV cameras for a short cooking demonstration. Why I chose to delve into the world of pie crusts remains a mystery to me. Little did I anticipate the countless trials it would take to master this seemingly simple skill.
However, over the years, pie crust-making has evolved into a rather valuable life skill. Despite the convenience of store-bought options, there’s something deeply satisfying about making your own.
Now, at this stage of my life, I’ve experimented with numerous variations. Yet, more often than not, I find myself returning to this recipe to ensure my pie crust turns out beautiful and flaky. I believe you’ll have a similar experience.
Why Shortening in Addition to Butter?
In my experience, I’ve observed that all-butter pie crust recipes often undergo some degree of shrinkage during baking. When it comes to baking an empty pie shell, this shrinkage can turn into quite a disaster.
You might be contemplating various methods like using dried beans, pie weights, chains, or even employing the technique of twisted parchment paper snakes, all of which are intended to preserve the shape of a buttery crust during baking. Nevertheless, even with these precautions, the crust can sometimes still manage to contract along the sides, compromising the appearance of your pie.
Shortening helps your pie to maintain its shape.

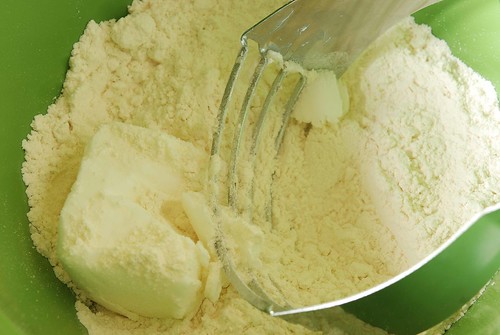
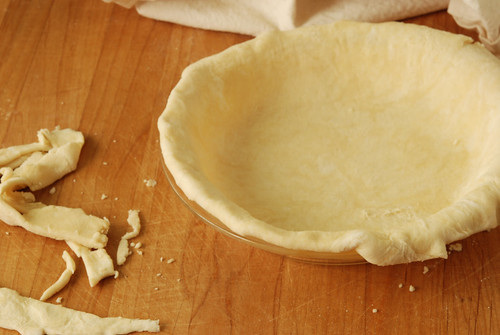
While I often turn to a trusty food processor for mixing the dough, the upcoming images will showcase the timeless method—good old-fashioned handwork. The choice ultimately comes down to whether you prefer the convenience of a food processor, with the caveat of washing its many parts, or the satisfaction of employing some good ol’ elbow grease with a fork or pastry blender.
How To Mix Pie Crust by Hand
How To Roll Out a Pie Crust with a Pastry Cloth and Rolling Pin Cover

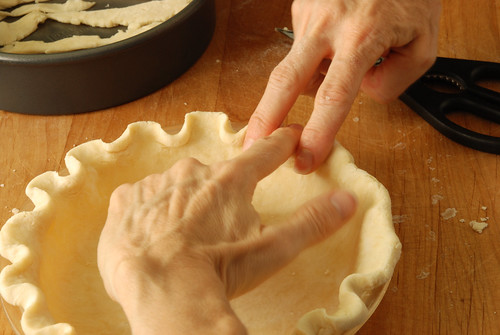
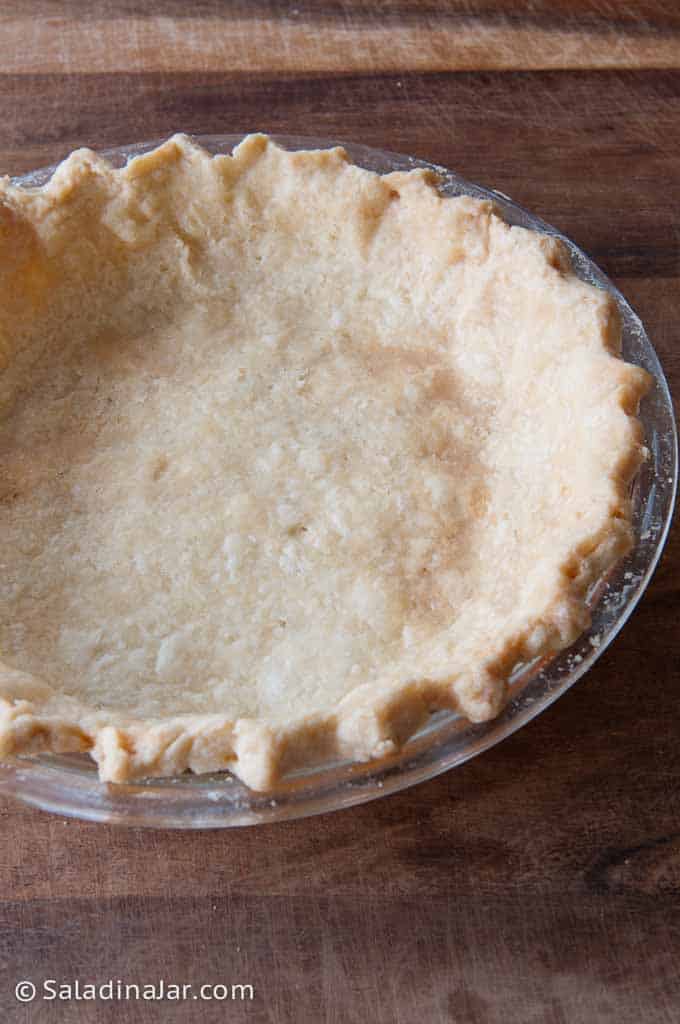
How To Finish the Edge of Your Pie Crust
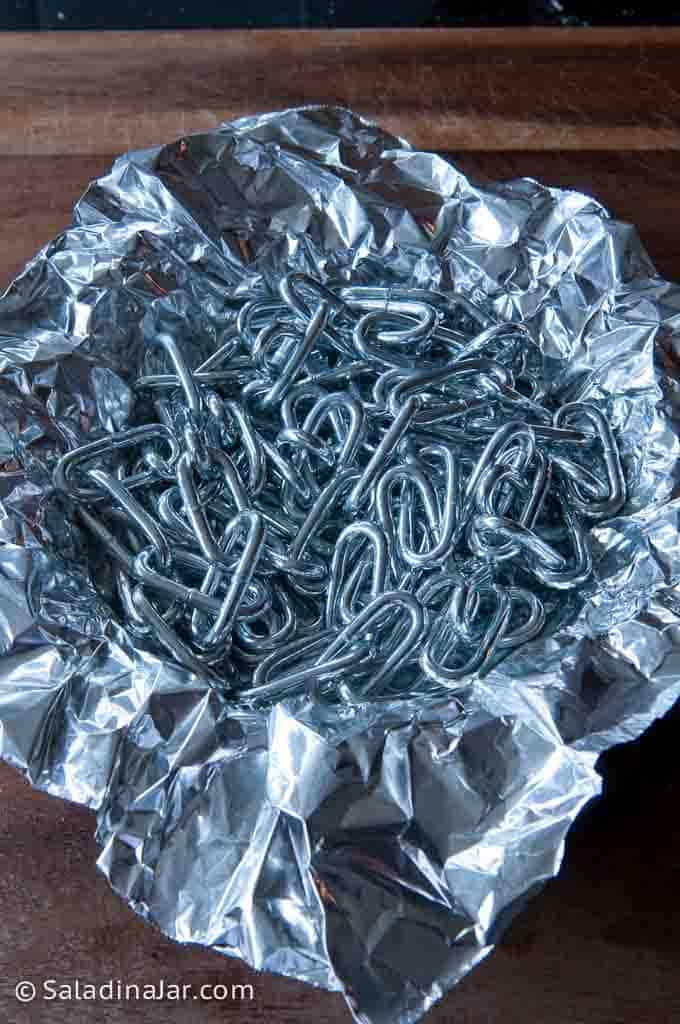
When it comes to pre-baking the crust before filling, my go-to solution is stainless steel chainlinks. No more dealing with the mess of spilled dried beans or pie weights. What’s even better, these chains have some weight to them.
You can easily find chains like the ones pictured by the foot at hardware stores or through online sources.
To prep your crust, start by lining it with non-stick aluminum foil or parchment paper. Use your hands to gently mold the foil to the contours of the crust. Then, simply place your chain inside the pie crust before placing it in the oven.
Questions about Pie Crust
You may have rolled your dough too thin.
The dough has probably been overworked. Did you add too much flour? A thick crust can be challenging to serve.
When the fat in your dough isn’t cut into the flour finely enough, it can melt and result in an unexpected smoke show in your oven. Here are two essential tips to prevent this:
1. To avoid any drips reaching the oven floor and causing smoke, place your pie or pie crust on a cookie sheet or a silicone baking mat that can catch any potential spills.
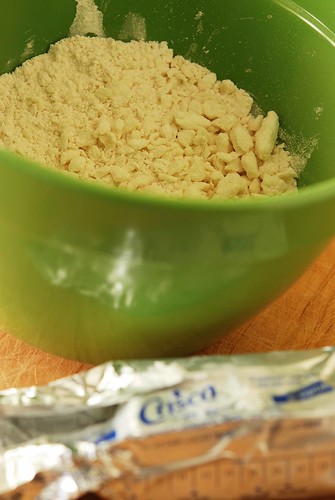
2. Ensure that you’ve evenly and thoroughly cut in the fat. The texture should resemble that of oatmeal flakes in the crumb.
The Food Marketing Institute’s “The Food Keeper “ recommends storing unopened solid shortening, such as Crisco shortening, at room temperature for 8 months. After opening, store at room temperature for 3 months for best quality.
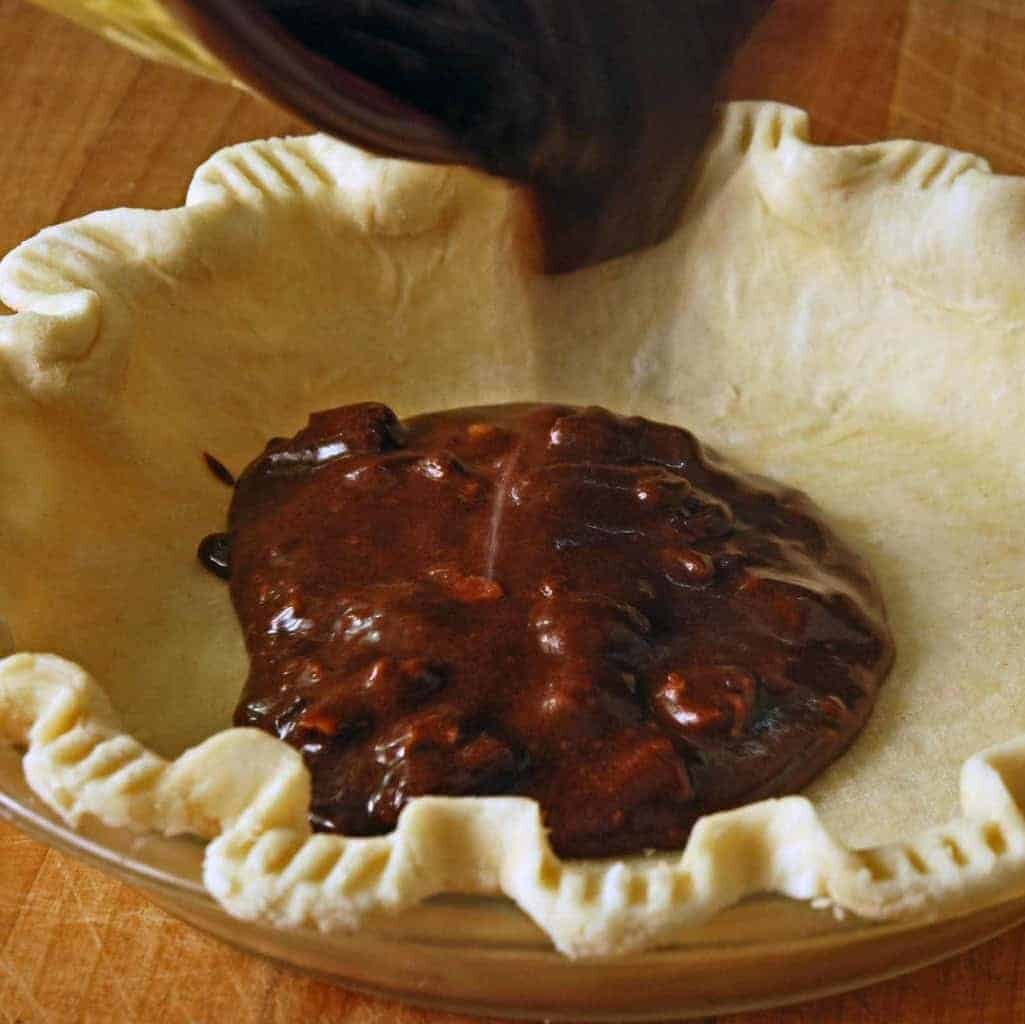
Parting thoughts: I encourage you to give this straightforward pie crust recipe a try. It’s a breeze to work and delicious to eat. You can also explore my alternative pie crust recipe, which incorporates yogurt for an extra flaky crust. Here are some pie recipes for you to try out: Browned Butter Pecan Pie, Grandma’s Custard Pumpkin Pie with Magical Layers, and this Deep Dish Fudge Pie.
Help at Your Fingertips: For questions or suggestions, email Paula at saladinajar.com. If you need help, I’m happy to troubleshoot via email (faster than leaving a comment). Attach pictures and as many details as possible for the best advice.
Flaky Pie Crust with Shortening for a Beautiful Pie
Rate this recipe
(5 stars if you loved it)
Ingredients
- ½ cup (103 g) shortening (ice cold) can substitute lard
- ½ cup (114 g) butter cold
- 2 ¾ cups (330 g) unbleached all-purpose flour
- ½ teaspoon table or sea salt
- 1 teaspoon granulated sugar
- 7-9 tablespoons ice water
Instructions
Mixing the dough:
- Use a fork, pastry cutter, or food processor to cut 1/2 cup (103 g) shorteningand 1/2 cup (103 g) shortening into 2 3/4 cups (330 g) unbleached all-purpose flour mixed with 1/2 teaspoon (½ teaspoon) table or sea salt and 1 teaspoon granulated sugar.
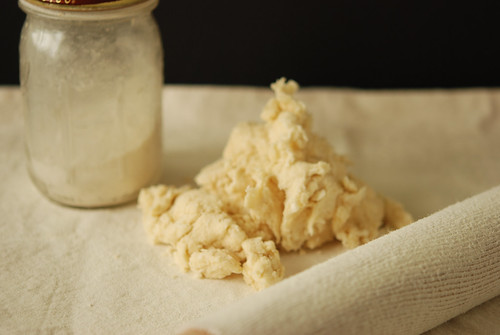
- The flour/fat mixture should be very coarse with some pieces looking like small peas and other pieces resembling thick-cut oatmeal
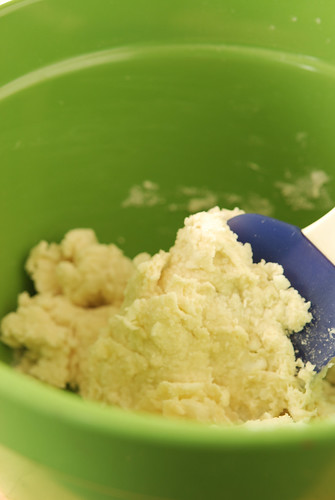
- Sprinkle 7-9 tablespoons ice water over the flour mixture and start to compress into a ball with your hands or a rubber spatula. Only use as much water as necessary to make a shaggy ball.
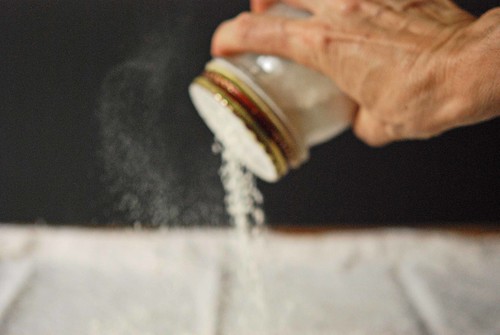
- Sprinkle flour over a pastry cloth or tea towel and work in with your fingers. I also use a special sock on my rolling pin that comes with the pastry cloth. Work the flour into it also.
- Dump the crumbly dough onto the floured cloth.
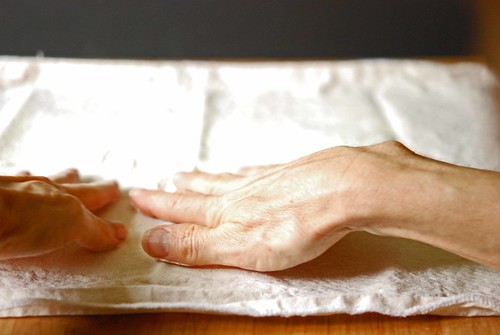
- Put your hands underneath the cloth and use the cloth to press the dough together.
- If the dough will not come together, sprinkle a few drops of water over the dough until it does. If the dough is too sticky at this point, put more flour on the cloth–not the dough.
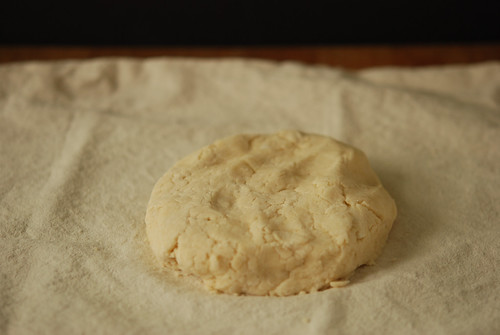
- Divide the dough into 2 discs. Place in refrigerator for at least 15 minutes or until ready to roll.
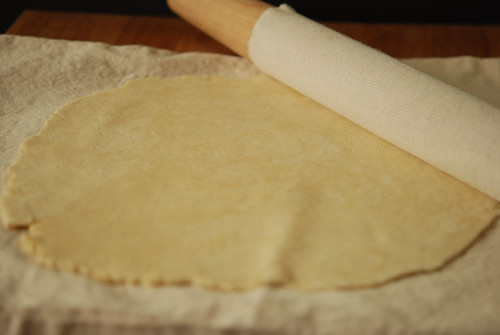
Rolling out the dough:
- Remove dough from refrigerator and allow to warm slightly.
- Use a rolling pin to roll out 1 disc of dough, making strokes starting at the center and going outward at different angles in opposite directions like you are going around a clock. Strive to keep your circle symmetric.
- Spray pie pan with flour/oil aerosol like Baker’s Joy.
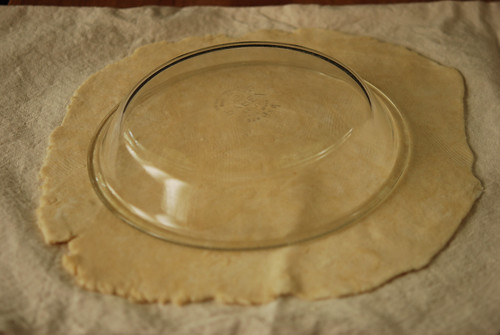
- When you are satisfied your crust is large enough and thin enough, place an empty pie plate upside down on top of the dough.
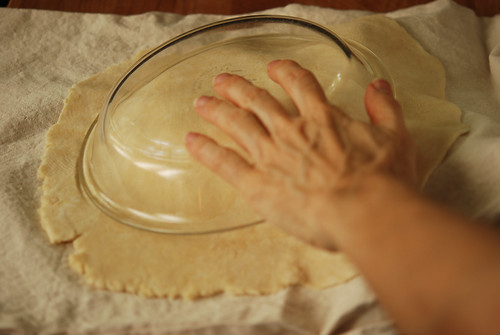
Placing pie crust into pie pan:
- Carefully, scoot your hand underneath the pastry cloth and flip the pie crust upside down. The pastry cloth will end up on top.
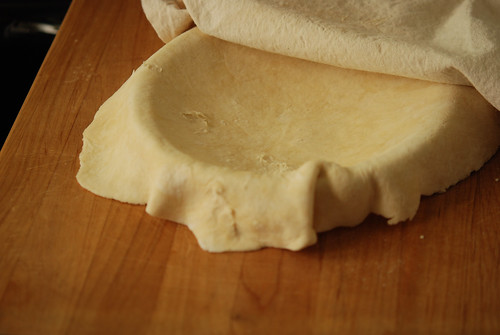
- Peel the towel off of the crust. If crust sticks to the towel, use a knife to carefully free the dough from the cloth.
- Trim crust with cooking scissors or a knife leaving about 1/3-1/2 inch overhang.
- Fold overhanging dough up under the edge to make it even with the side of the pie plate.
- Make a decorative border.
- Place finished piecrust in the freezer for at least 30 minutes. Repeat steps 10-18 with the remaining pie crust disc.
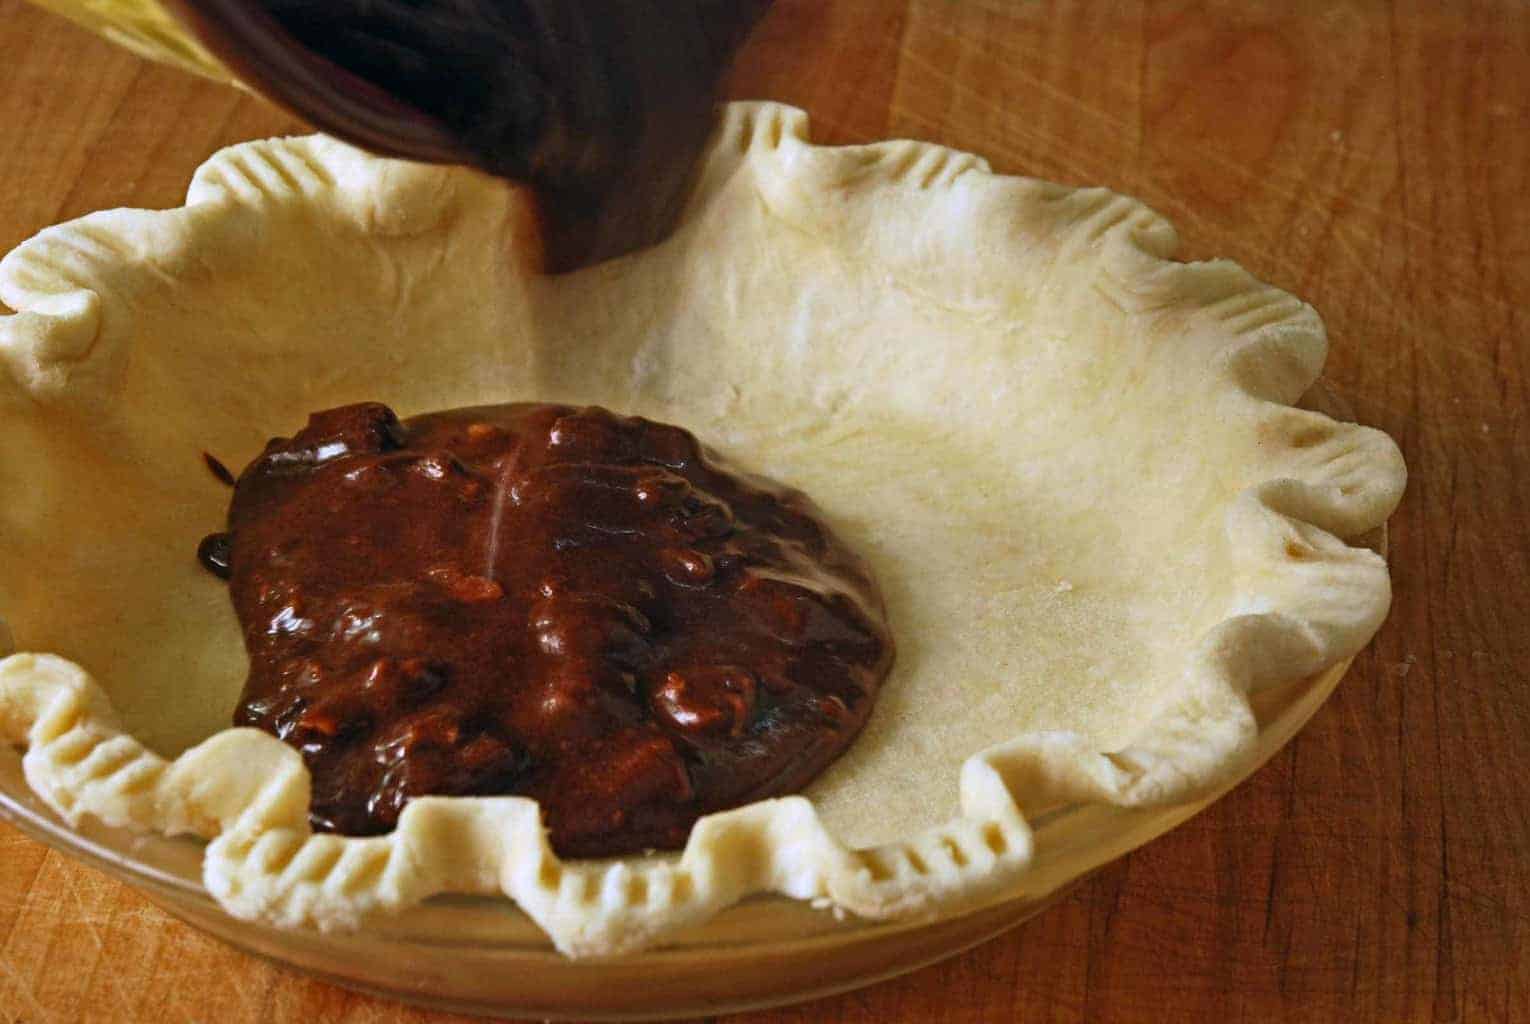
Baking pie crust without a filling: (blind-baking crust)
- Cover the inside of the frozen pie shell with nonstick aluminum foil or parchment paper. Fill covered pie shell with pie weights or a heavy chain link like you can buy by the foot at a hardware store. (see the picture in post)
- Bake in a preheated oven at 375 degrees F for 25-30 minutes. Remove parchment paper or foil but don’t throw it away. It’s reusable.
- Use a knife or toothpick to carefully puncture any bubbles (making the smallest incision possible) to let the hot air out and gently press the dough back down against the dish. If your pie crust shrinks down into the pan, more than likely you stretched it while rolling out or you neglected to freeze the crust ahead of time.
- Put crust back into the oven and bake 5-10 minutes until golden brown and crispy. Watch carefully that it doesn’t brown too much lest your crust taste slightly bitter/burnt.
Equipment
Nutrition
All images and text ©️ Paula Rhodes for Salad in a Jar.com
If you want inspiration and exclusive tips, add your email and press the button. (Don't worry. I won't sell your email.)
Paula Rhodes, owner
As a retired home economist, I created Saladinajar.com to share my belief that you don’t have to be a chef to find joy in creating homemade food worth sharing. Bread machines (used in an unconventional way), homemade yogurt, and quick microwave recipes are my specialty.