Popular Posts
Hi, y’all! I’m Paula
As a retired home economist, wife, mother, and grandmother, I firmly believe you don’t have to be a chef to find joy in creating homemade food worth sharing. I’ll share my best tips, troubleshooting advice, and confidence-inspiring photos and videos to make your time in the kitchen tasty and satisfying.
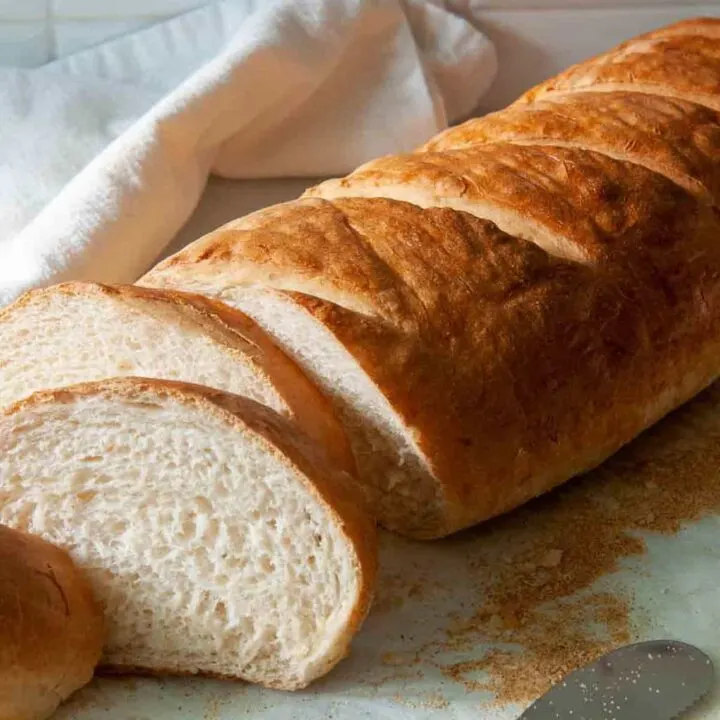
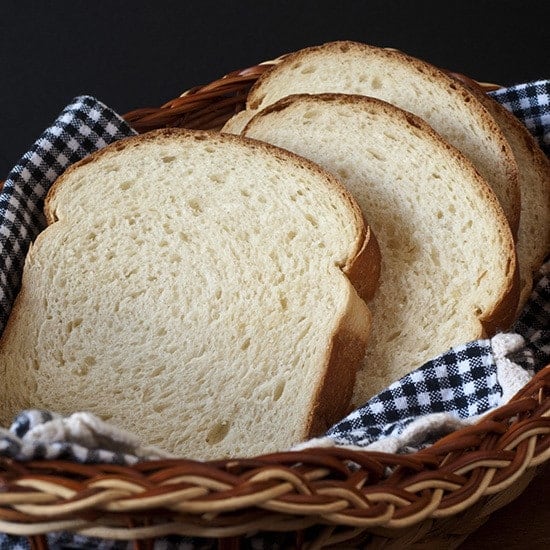
Whether you are curious about making gorgeous bread with a bread machine (yes, it’s possible), homemade yogurt, or exploring time-saving yet scrumptious recipes using modern-day shortcuts, you’re in the right place. If you are an adventurous cook at heart, we’re about to become fast friends. I can’t wait to connect with you.
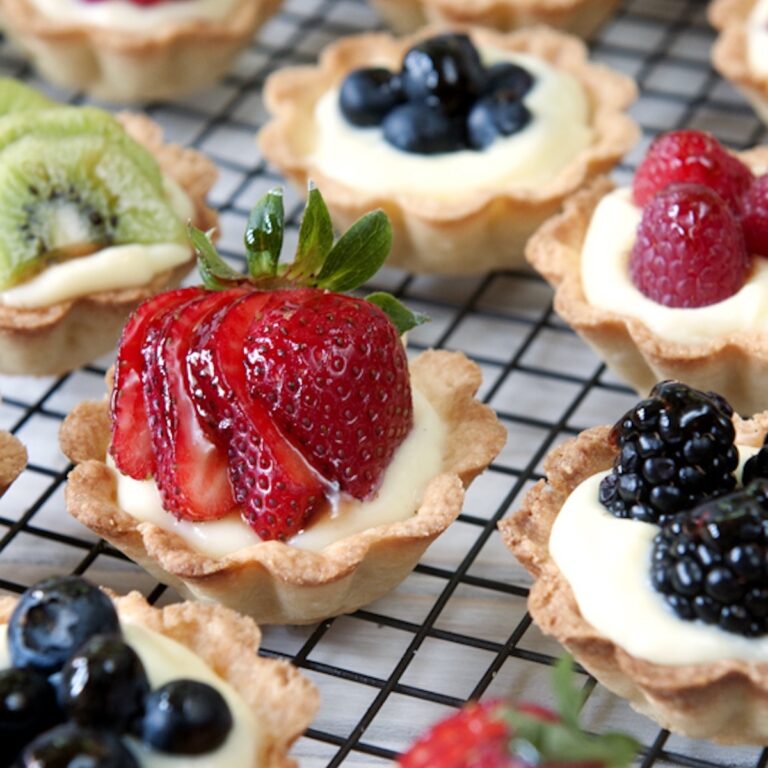
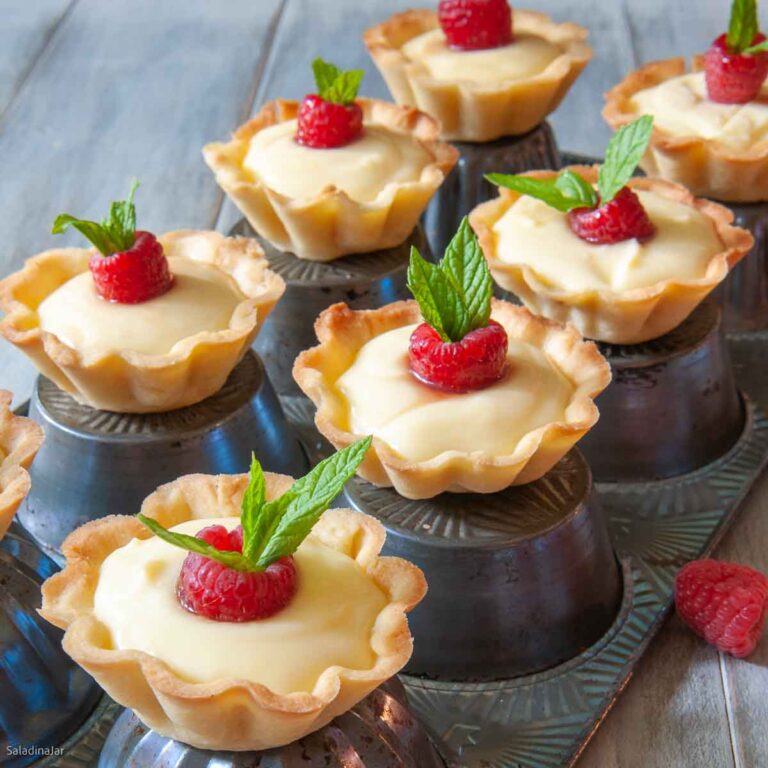
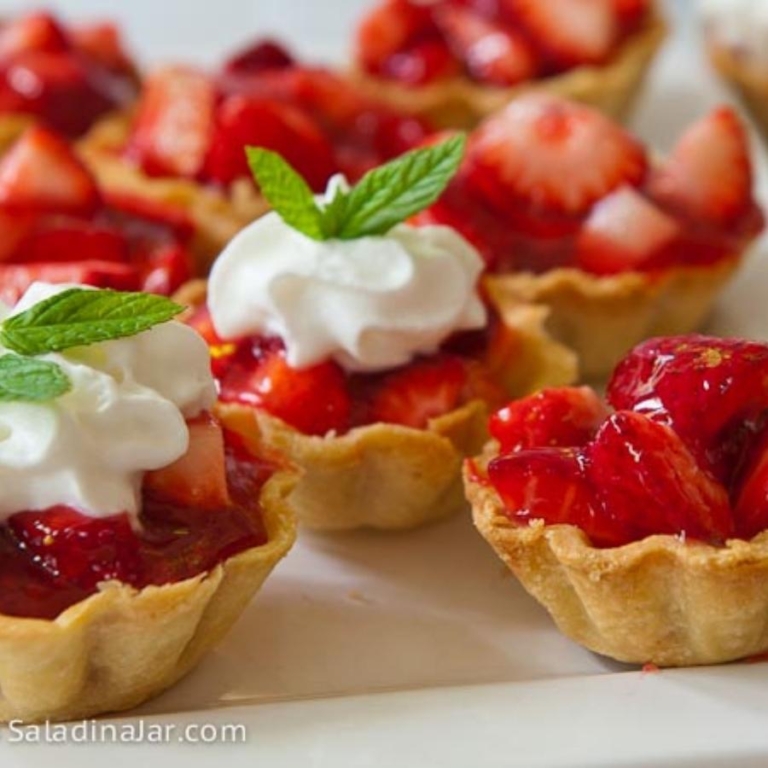
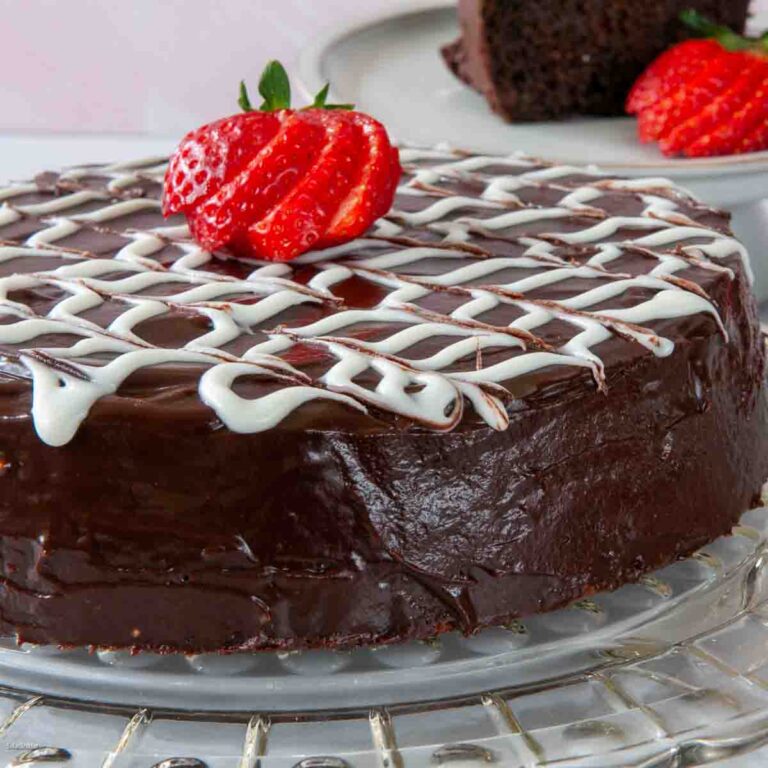
Make Your Next Celebration Memorable

Latest Posts and Updates
If you want inspiration and exclusive tips, add your email and press the button. (Don't worry. I won't sell your email.)
Search For a Recipe
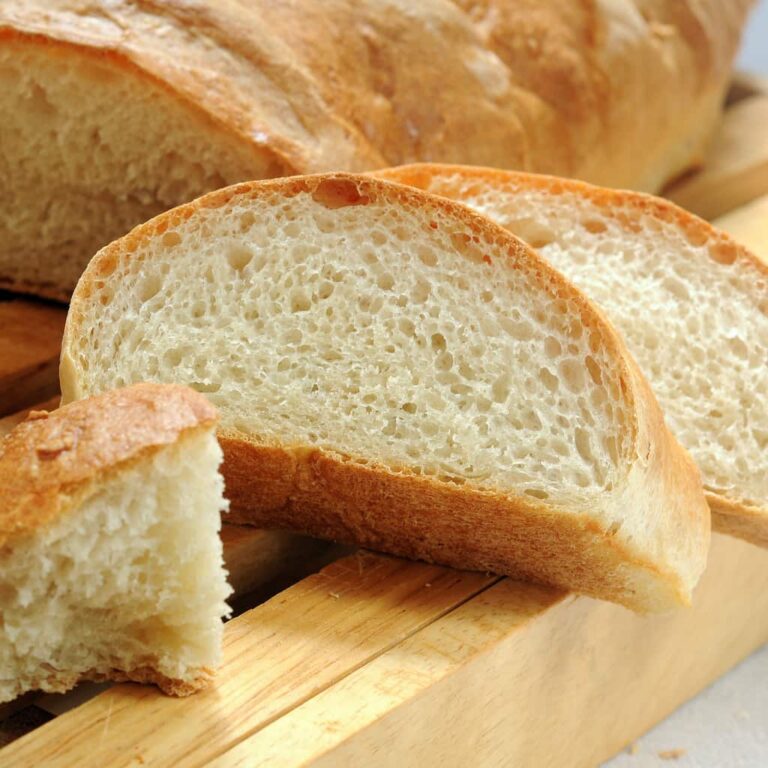
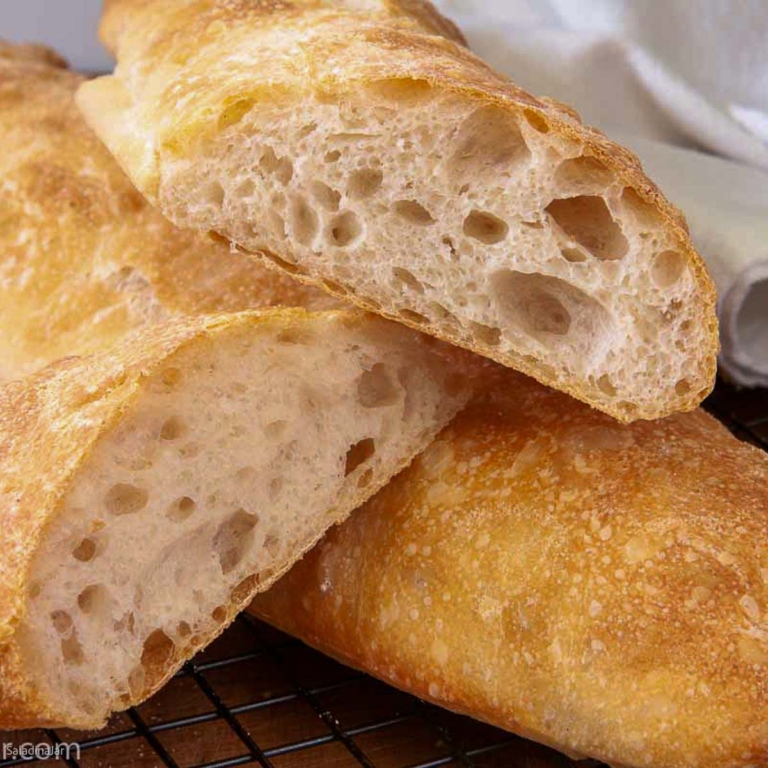
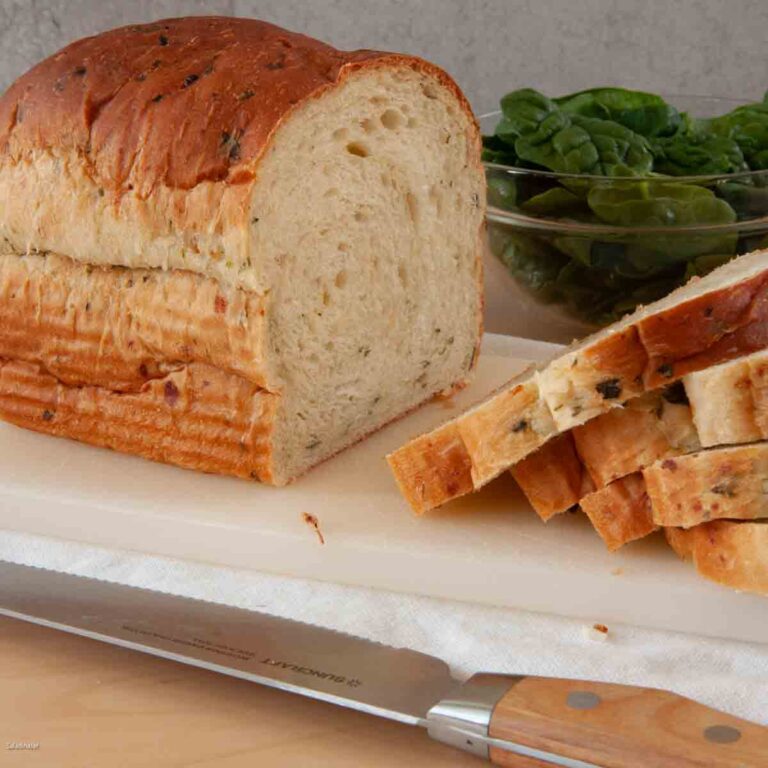
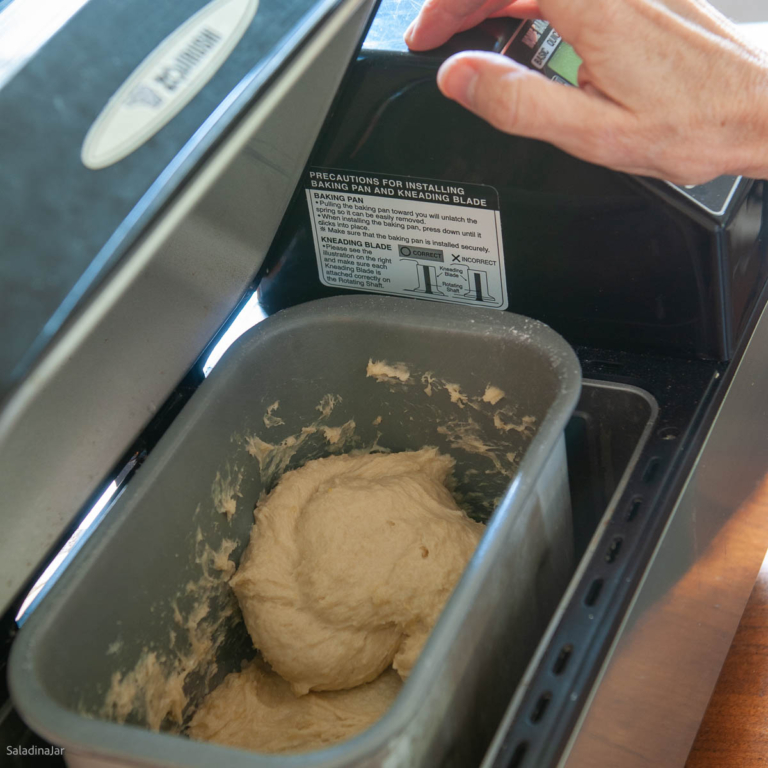
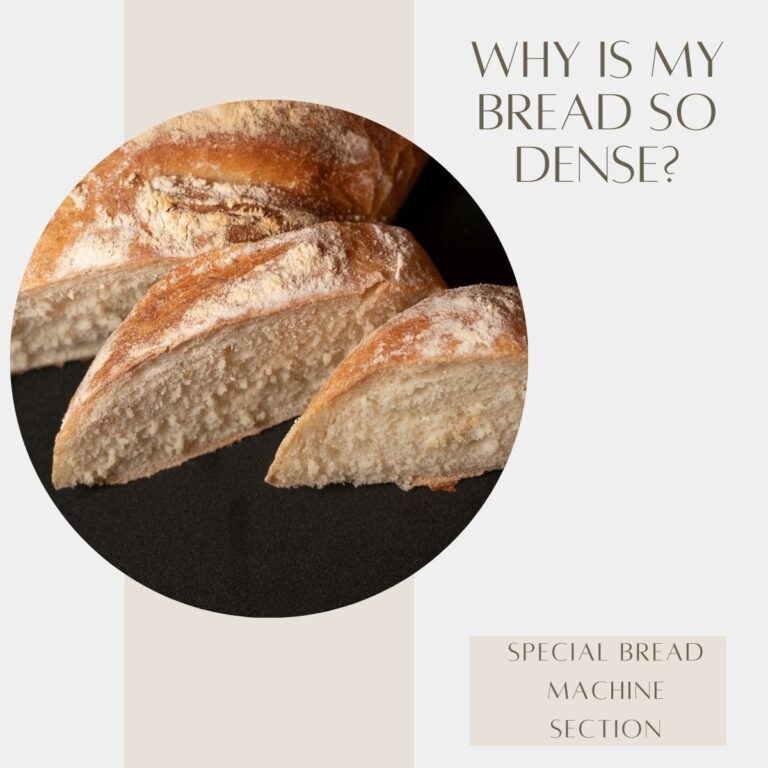
Learn To Use Your Bread Machine

Free 6-Day Email Crash Course
Learn how to make marvelous bread with a bread machine.
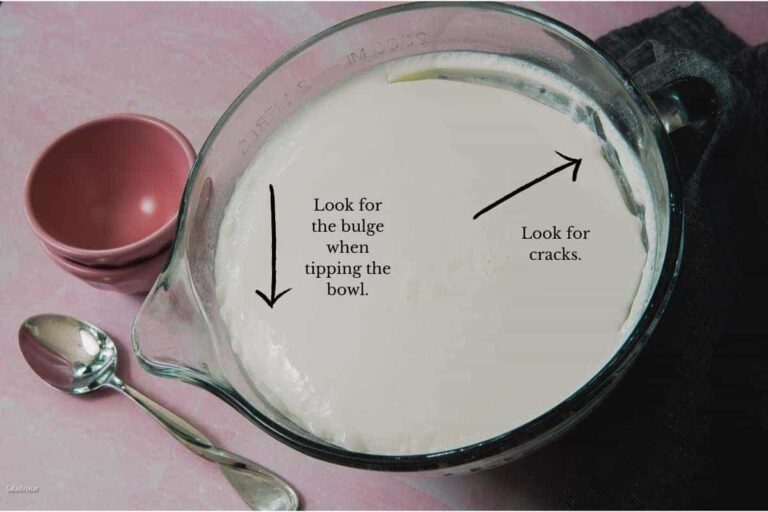
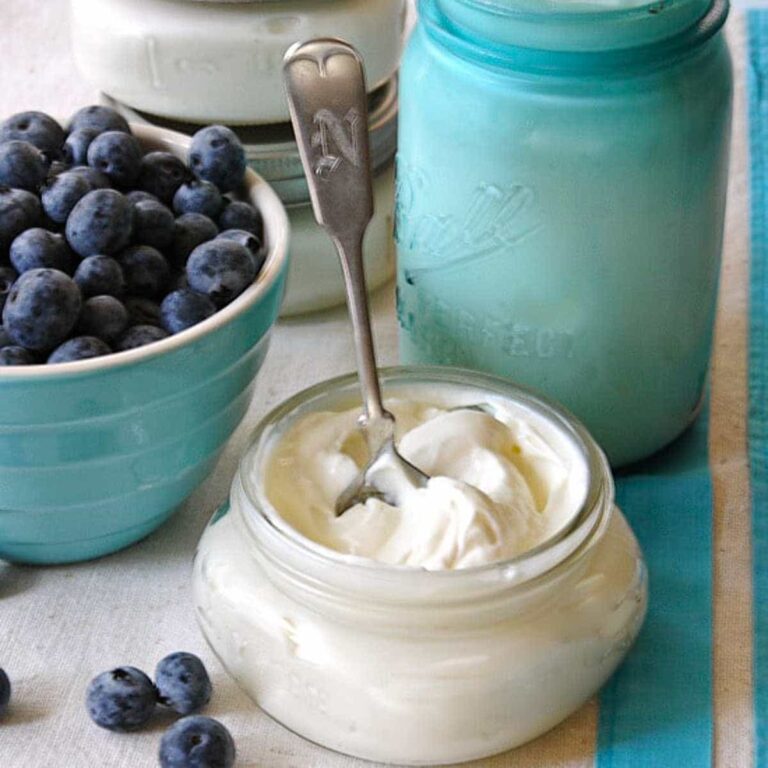
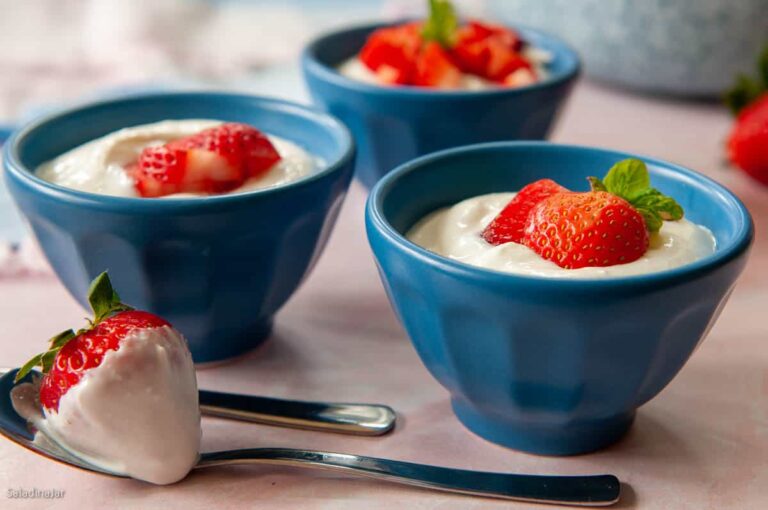
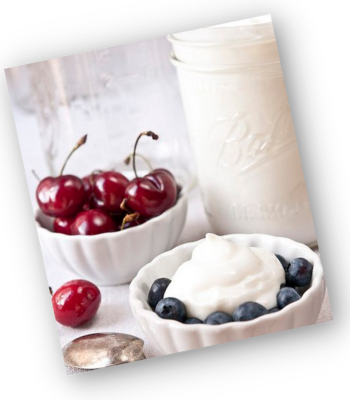
Making Homemade Yogurt
Free 6-Day Email Crash Course
Learn how to make the creamy Greek yogurt of your dreams.