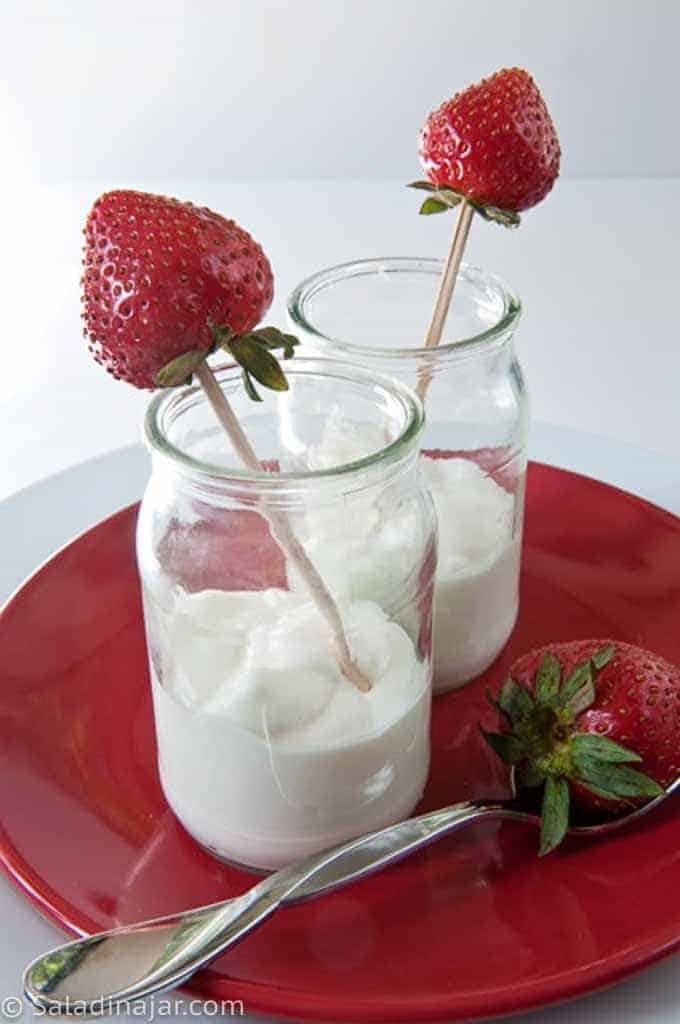
Making Yogurt from Raw Milk (Includes Greek Yogurt Instruction)
Sneak Preview: Learn about making yogurt from raw milk with this picture tutorial. The instructions are for making regular yogurt and Greek yogurt.
As an Amazon Associate, I earn from qualifying purchases.
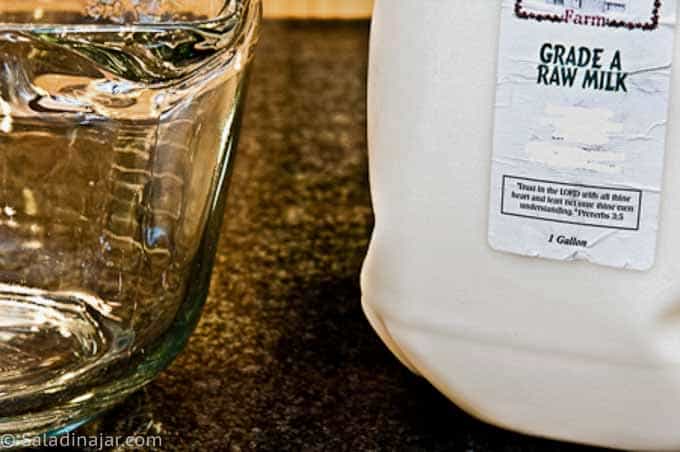
No cows hang out in my backyard or the back forty. Raw milk is not available commercially in my town, but my son and daughter-in-law love yogurt made with raw milk. So they encouraged me to try it.
I may be entering treacherous territory. Recently I’ve had several inquiries about making Greek yogurt with raw milk (unpasteurized milk) on my Homemade Greek Yogurt post, so I decided to try it to say I did.
Please note: As a home economist, I’m not advocating adding raw milk to your diet. It’s a controversial practice not advised by the USDA. I encourage you to do the research.
Why Do I Need to Heat the Milk?
I have read that some people don’t heat their raw milk to 175˚F initially, either because they want to save time or because they don’t want to kill certain bacteria. However, after doing side-by-side experiments, I observed that milk heated to 175˚F produces a thicker yogurt, whether raw or pasteurized, at the outset.
High heat helps to unravel the proteins that aid the yogurt-making bacteria. However, I wouldn’t say I like to drink my yogurt, and I’m not comfortable letting unheated raw milk sit at 100˚F for 12 hours. So, I stick with the method for high heat, then a cool-down, before adding a yogurt starter.
As it turns out, making Greek yogurt with raw milk is the same process as pasteurized milk. What follows is a condensed tutorial. If you still have questions, check out my original post on making yogurt for more details.
How To Make Greek Yogurt with Raw Milk
Once you prepare your yogurt by heating it, cooling it, and adding a starter, find a place in your house to incubate your yogurt. See this post for more ideas about how to incubate.
DO NOT DISTURB!!!!!!
If you peek too often, too much heat may escape. Also, if you move or stir the milk mixture, the incubation process will stop, and no more thickening will occur.
After 10-12 hours, go to the next step. If you are not available, then it is OK to let it incubate for up to 24 hours, based on my experience. In general, the longer yogurt incubates, the tangier the yogurt.
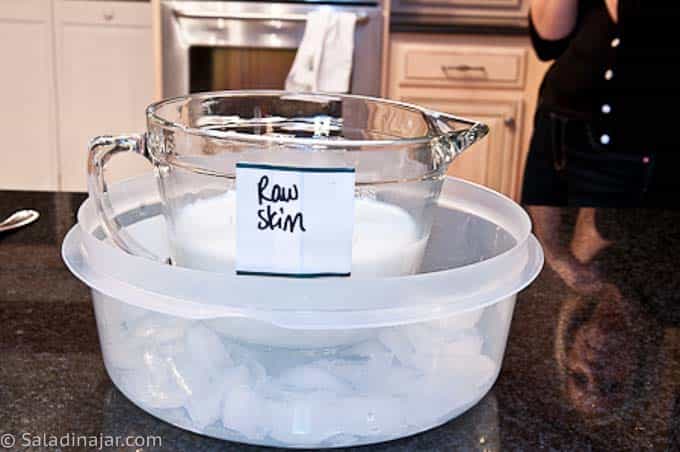
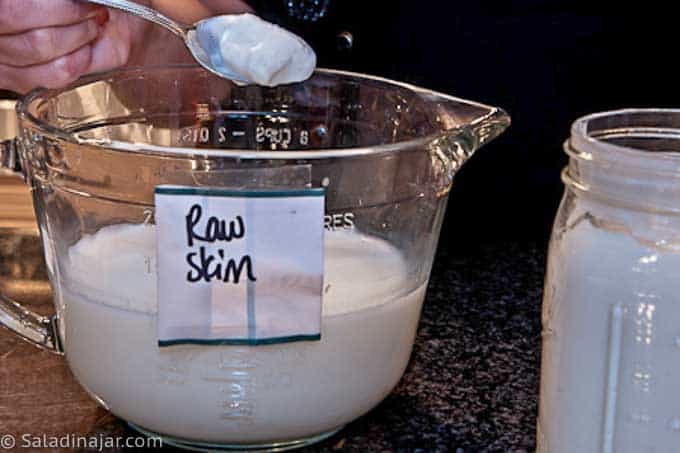
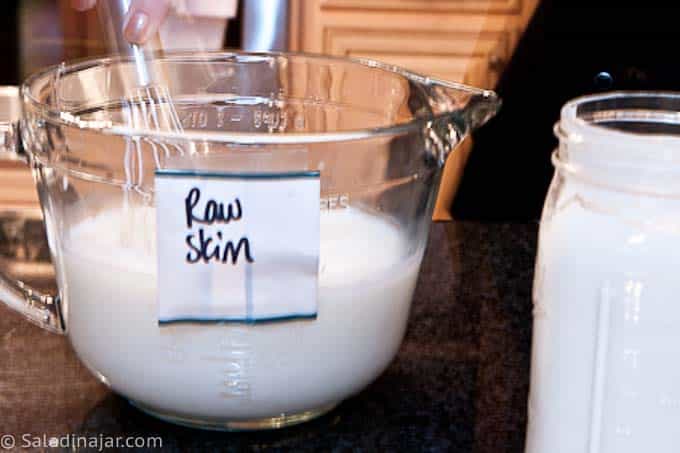
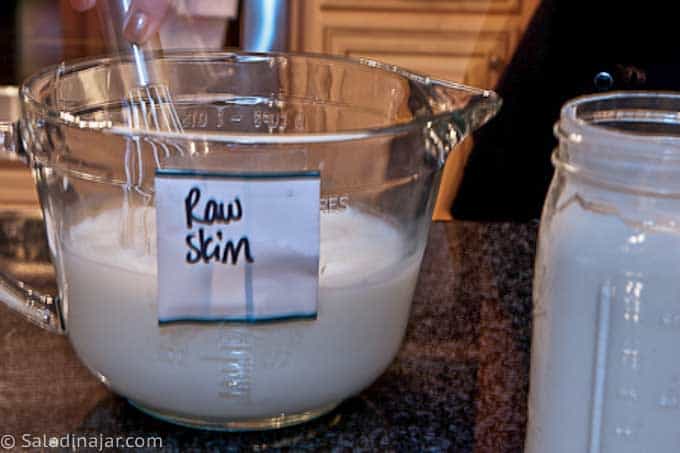
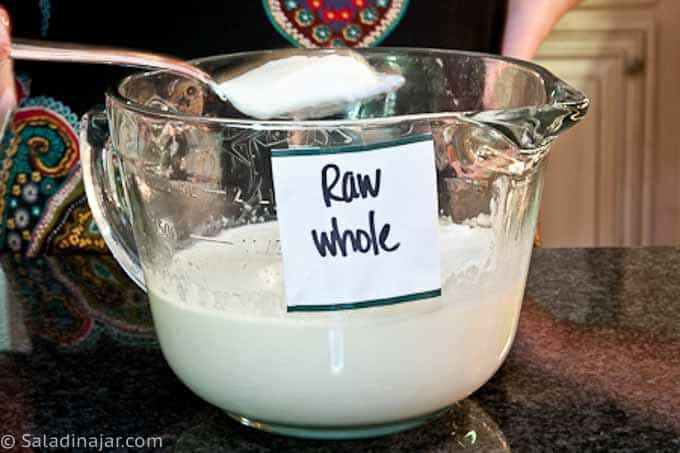
See the pictures below for an example of what your yogurt should look like after incubation. We made three batches using different milk in each. First, the pasteurized skim milk was the thickest, followed by the raw skim milk. Finally, whole raw milk made the thinnest yogurt.
How to make Greek yogurt
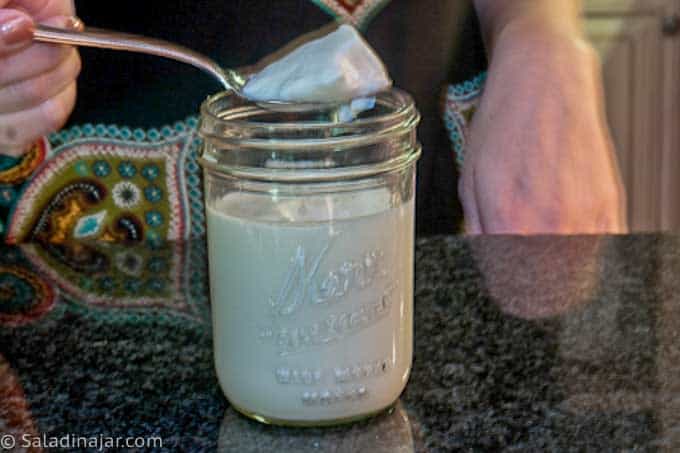
You could eat your yogurt at this point– once it chills, but if you prefer Greek yogurt as I do, proceed.
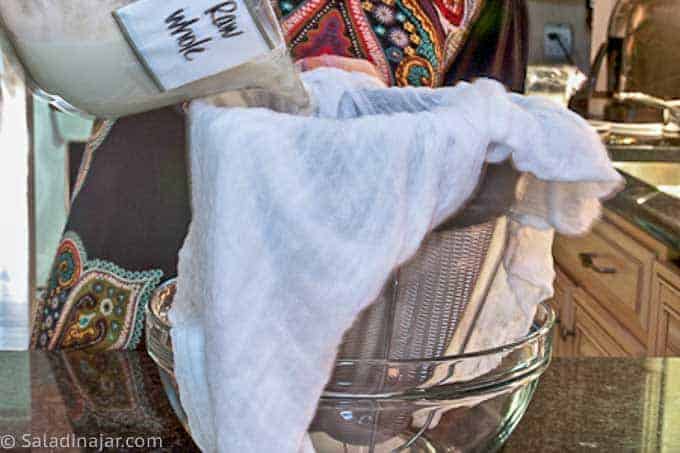
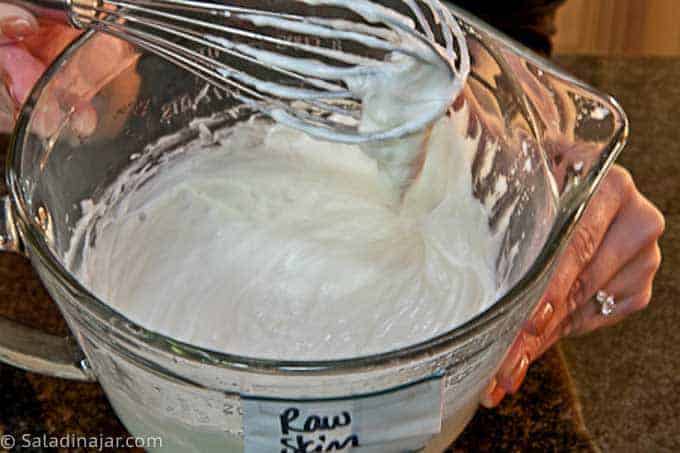
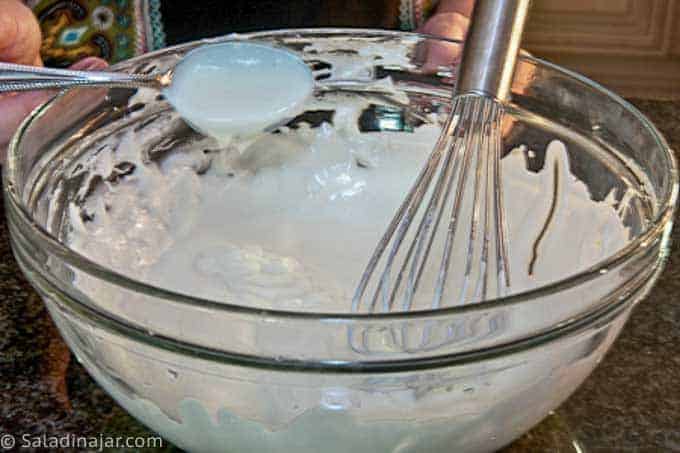
If you chill the yogurt before straining, you may not need to use a cloth to line your strainer if your strainer is fine enough. Then, after 1-3 hours (your choice, depending on the yogurt itself and how thick you like it), set the drained whey aside for other purposes and whip the remaining yogurt with a whisk. Use some muscle behind that whisk; your reward will be creamy yogurt.

Add flavorings before or after chilling. Enjoy!
If you run into difficulty, leave your question in the comment section.
Recipe Help at Your Fingertips: For questions or suggestions, email Paula at saladinajar.com. If you need help, I’m happy to troubleshoot via email (faster than leaving a comment). Attach pictures and as many details as possible for the best advice.
Making Greek Yogurt with Raw Milk
Rate this recipe
(5 stars if you loved it)
Video
Ingredients
- 1 quart (946 g) unpasteurized dairy milk )
- 1 tablespoon yogurt commercial or your own homemade
Instructions
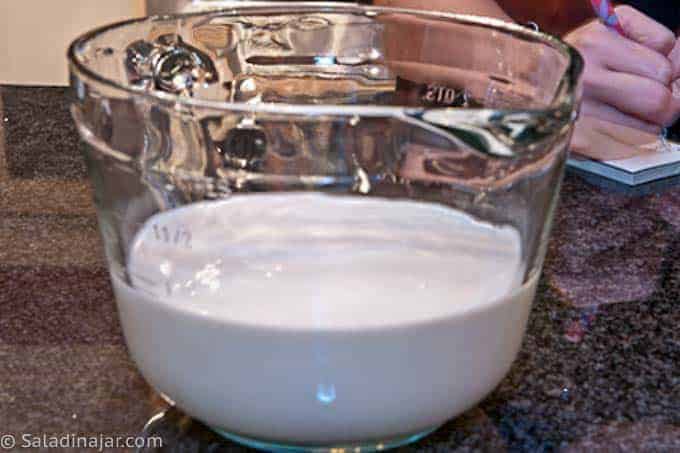
- Fill a Pyrex 2-qt microwave-safe bowl or pitcher with milk. Alternatively, pour milk into a heavy-duty pot to heat on the stove.
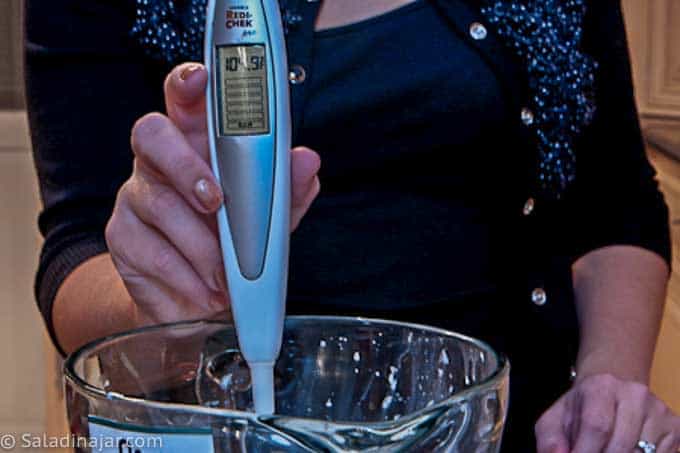
- Heat in the microwave until bubbles begin to appear around the edge. The temperature should reach 170-180˚F after you stir it. (In my microwave, it takes about 11 minutes on HIGH). Check at 9 minutes.
- Allow your milk to cool until the temperature drops to between 100-110˚F.
- Whisk in fresh unflavored yogurt (the starter). You may use yogurt from a previous batch of your homemade yogurt.
- Cover the milk and place it in a warm environment where the temperature stays around 100-105˚F.
- Allow the inoculated milk to incubate for 4-8+ hours or until set.
- At this point, you could chill the yogurt and eat it as is. Or you can decide whether to pour off the whey or stir it back in. Straining yogurt to make it thicker will result in Greek yogurt.
From Regular Yogurt to Greek Yogurt:
- Carefully pour yogurt into a bouillon strainer or chinois. If the mesh is fine enough, you won’t need to use a cheesecloth or paper towel. Or use a or a commercial size paper coffee filter inside a cheap strainer or colander.
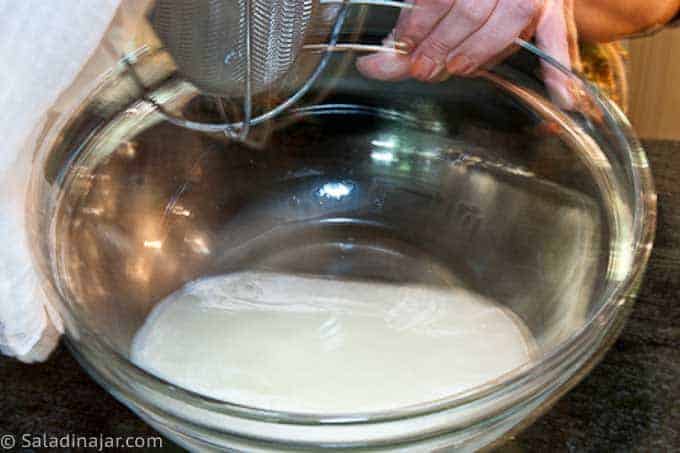
- Let yogurt sit in the strainer until the yogurt is reduced by approximately a third. Time will vary according to the thickness of the yogurt out of the oven and your own preference regarding texture and sourness.
- Empty whey from the batter bowl and pour yogurt out of strainer back into the original bowl. Use a good whisk to beat until smooth. Thin with milk or leftover whey if yogurt is too thick.
- Now is a good time to add any flavorings or sweeteners.
- Chill.
Notes
Equipment
Nutrition
All images and text ©️ Paula Rhodes for Salad in a Jar.com
If you want inspiration and exclusive tips, add your email and press the button. (Don't worry. I won't sell your email.)
Paula Rhodes, owner
As a retired home economist, I created Saladinajar.com to share my belief that you don’t have to be a chef to find joy in creating homemade food worth sharing. Bread machines (used in an unconventional way), homemade yogurt, and quick microwave recipes are my specialty.